A good gym layout starts with training zones, not decoration. For gym layout planning, place cardio near entry, build a clear selectorized circuit, separate plate-loaded and dumbbell traffic, and keep functional and stretching areas open. The goal is simple: members should understand the floor in one glance, staff should have clear sightlines, and every machine should have enough access space for safe use, loading and cleaning.
Start With an Equipment-First Floor Plan
A gym floor plan should answer one question before anything else: what training journey will a member follow from entry to exit? Equipment decides that journey. Reception, shoe change, cardio, selectorized strength, plate-loaded strength, dumbbell and barbell work, functional training, stretching and storage all pull people in different directions.
From a WTF equipment angle, the cleanest gym layout design is a loop: members see cardio first, move into guided machines, progress to heavier zones, and finish at stretching or functional space. If you are still deciding the equipment mix, use a zone-wise commercial gym equipment checklist before drawing walls, mirrors or electrical points.
Keep business planning separate from equipment planning. For rent, fit-out, staff and total setup cost decisions, use the sister guide on total cost to open a gym; this article stays with machines, zones and spacing.
Use Clear Gym Zones Before You Pick Machines
Gym zones make the space easy to read. They also reduce cross-traffic: a beginner using a chest press should not have to walk through barbell lifting, and a member carrying plates should not cut across treadmill users. These are the practical zones to mark first.
| Zone | Place It Near | Planning Notes |
|---|---|---|
| Entry and cardio | Reception, windows, main aisle | Good visibility, easy first stop, power planned in advance |
| Selectorized circuit | Cardio and beginner path | Simple sequence for chest, back, legs and shoulders |
| Plate-loaded strength | Wall side or heavier floor zone | Plate trees close by; avoid crossing cardio paths |
| Dumbbells, benches and racks | Mirror wall, reinforced flooring | Clear lifting bays and storage within reach |
| Functional or turf | Open side, corner or dedicated lane | Keep it free from machine swing paths |
| Stretching and mobility | Exit side or quiet corner | Lower noise, floor work comfort, easy cool-down |
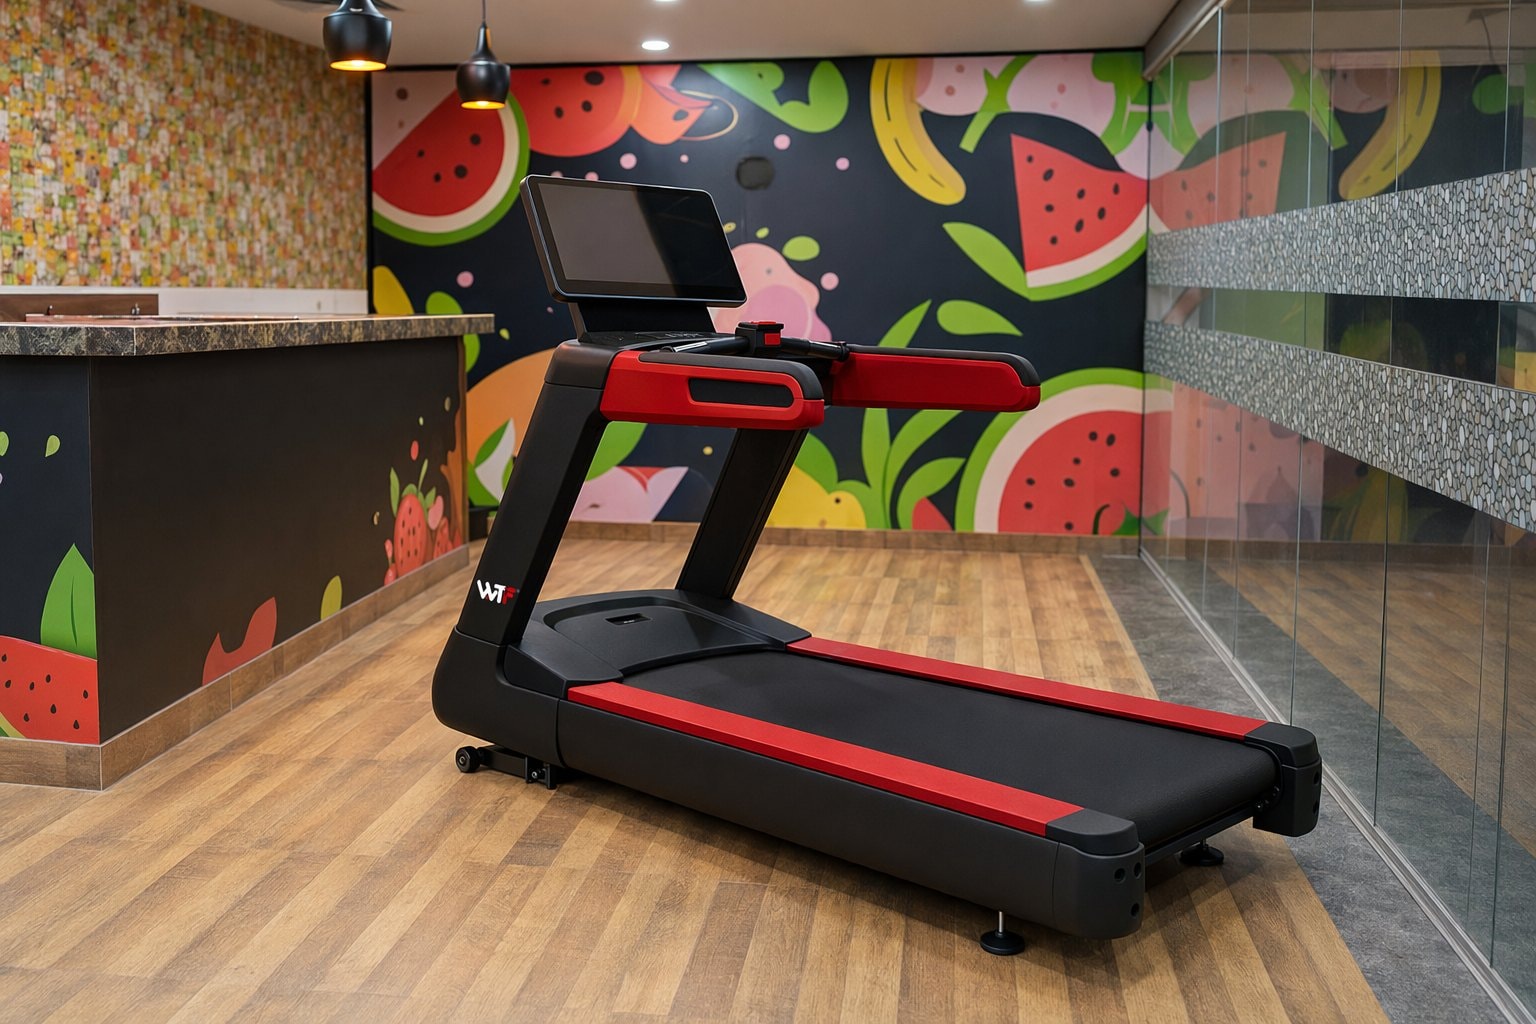
For cardio, commercial treadmills need more than their belt size. The BEAST Commercial Motorized Treadmill has a 60 × 153 cm running area, an AC motor rated at 8 HP peak and 4 HP continuous, 0–20% auto incline and a 200 kg rated user weight. In the layout, allow room for mounting, stepping off, cleaning access and a rear safety buffer. Also choose a machine with headroom above the user’s body weight; do not match a user exactly to the rated limit.
For guided strength, selectorized machines form a simple circuit because loading is contained inside the machine. The AMDM-01 Chest Press is 1,390 × 1,300 × 1,530 mm with a 100 kg weight stack, while the AMDM-015 Leg Press is 1,985 × 1,035 × 1,530 mm with a 100 kg weight stack. These are useful anchors when deciding wall distance and sequence.
How Much Space for Gym Equipment?
The honest answer is: machine footprint is only the starting point. Gym space planning must add user entry, exercise movement, loading path, spotting, cleaning access and traffic flow. A compact machine placed badly can block more space than a larger machine placed along a clean wall. The BEAST treadmill footprint is 230 × 94 cm, about 2.2 m² or roughly 23 sq ft, before any rear buffer; the AMDM-015 Leg Press is 1,985 × 1,035 mm.
| Equipment Type | Space to Reserve | Common Layout Mistake |
|---|---|---|
| Treadmill and cardio | Footprint plus mount, dismount and rear buffer | Placing machines too close to walls or pillars |
| Selectorized machines | Machine body plus seat access and stack access | Putting adjustment points against a wall |
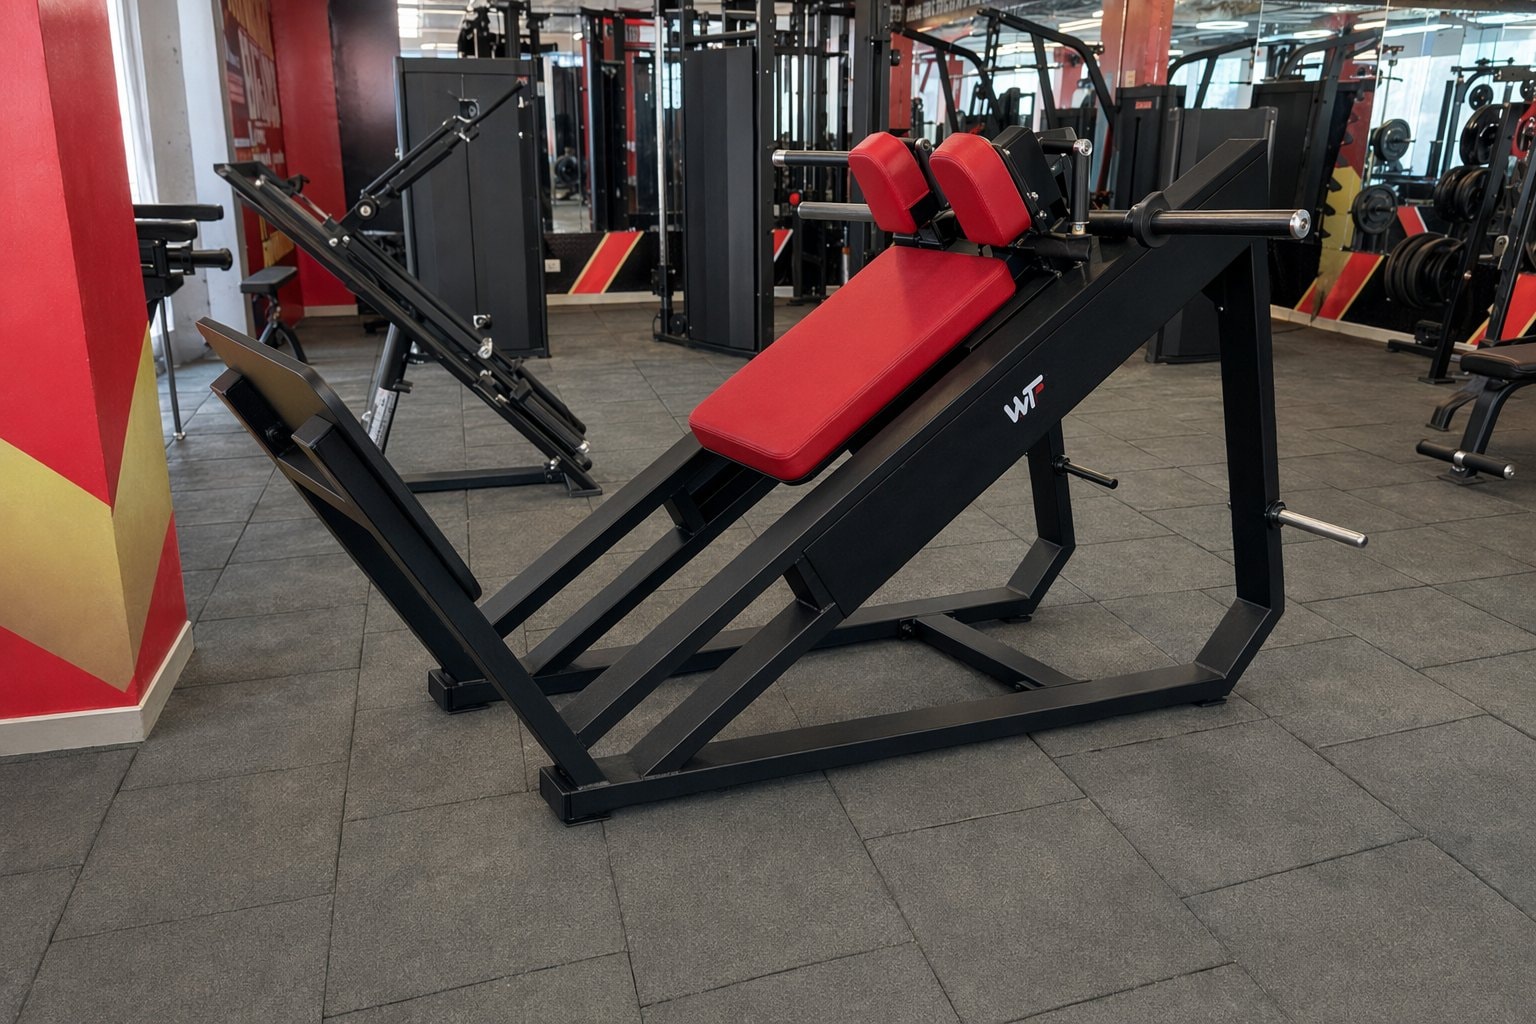
| Plate-loaded machines | Footprint plus plate loading and unloading path | Making members carry plates across aisles |
| Power rack or Smith | Rack footprint plus bar path and spotter space | Ignoring ceiling and overhead clearance |
| Functional trainer | Cable reach plus user movement area | Letting cable work clash with walkways |
| Cross-training rig | Rig body plus swinging, hanging and rope zones | Treating it like a static machine |
Plate-loaded areas need a different mindset from selectorized areas. The AMV24 Power Rack and AS029 Smith + Power Rack (Counter Balance) both use a heavy-duty frame and are made in India. Because WTF's catalogue does not list assembled height for these models, verify ceiling height against the selected unit before finalising lights, fans, false ceiling or ducting.
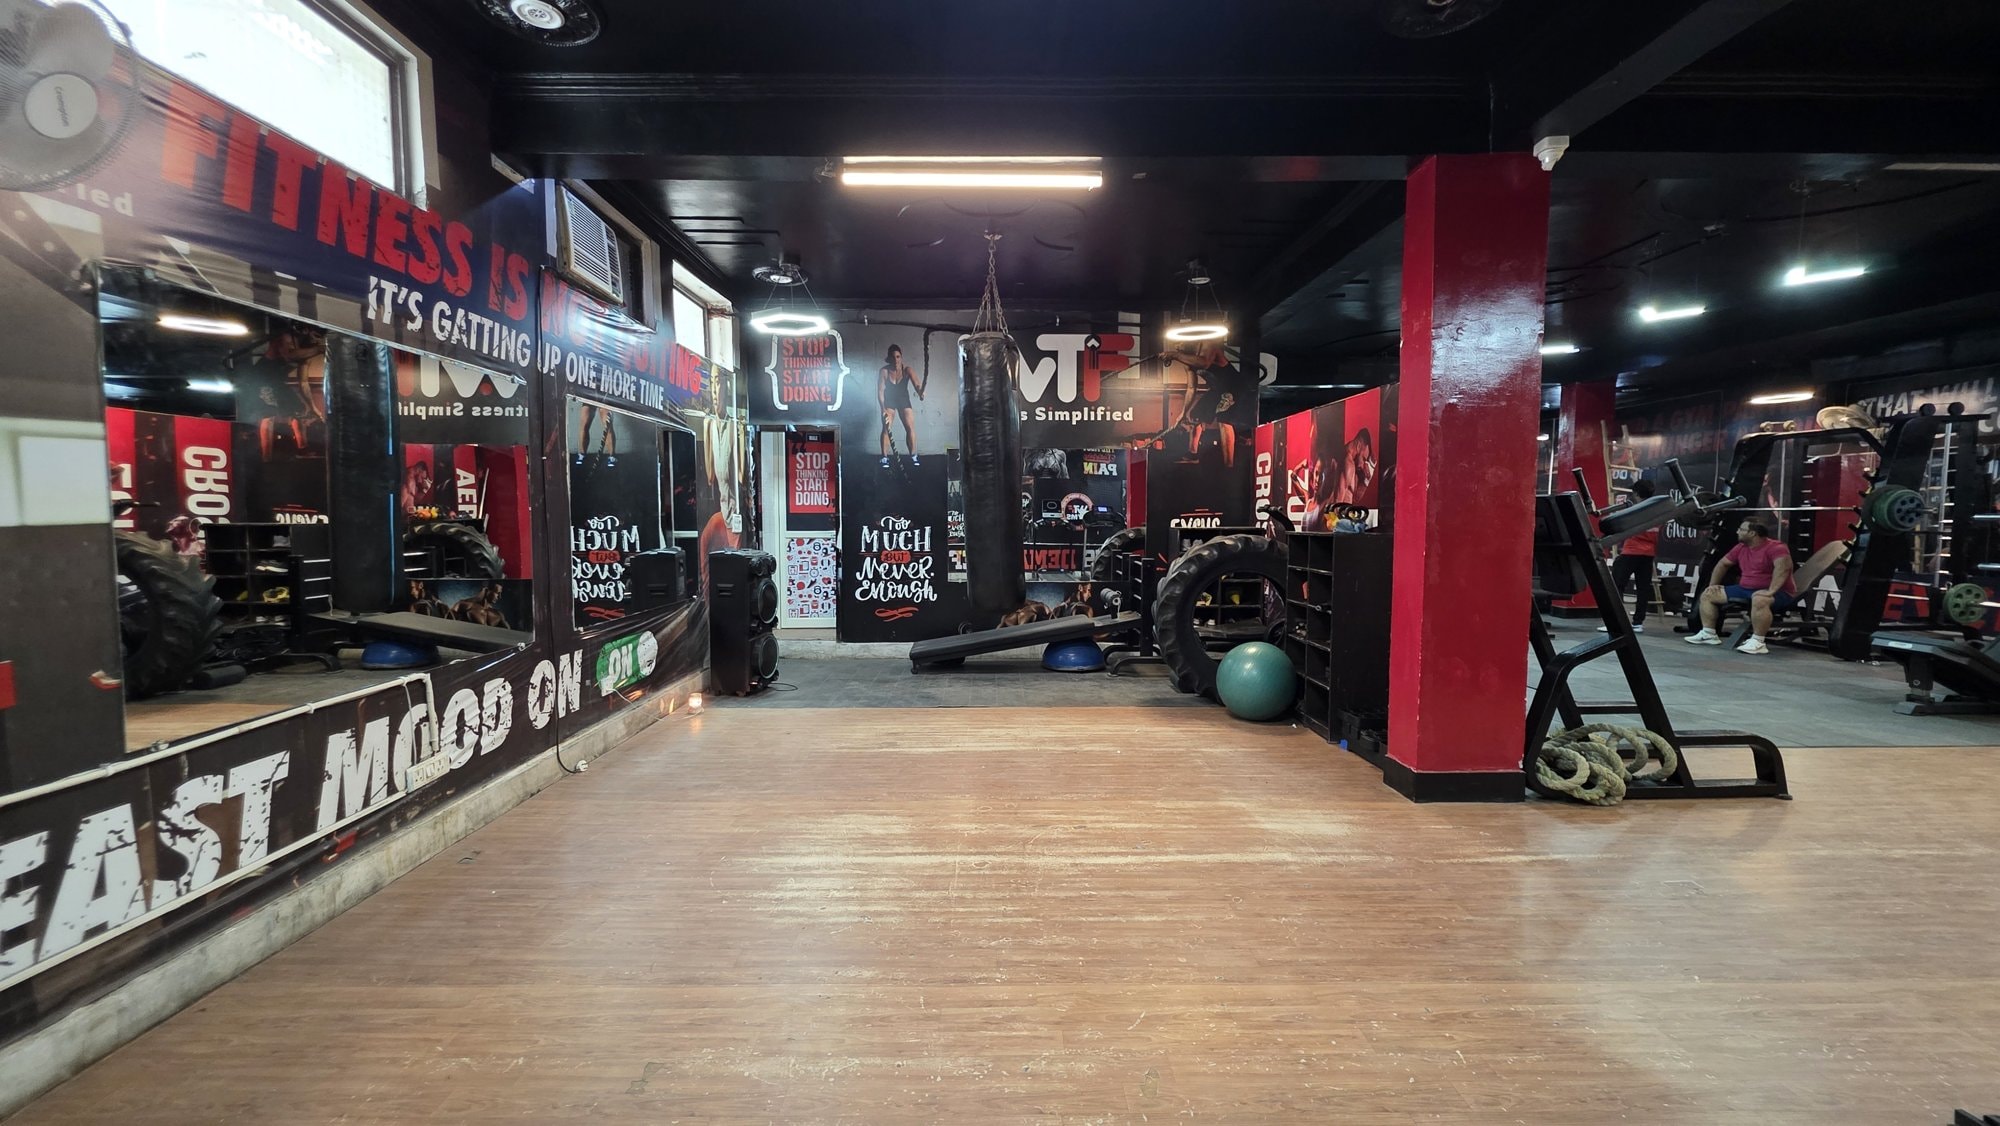
Functional training needs empty usable floor, not just equipment footprint. The BK005A Functional Trainer uses heavy-duty commercial steel and is made in India. The Crossfit Rig includes elements such as parallel bar, punching bag, plate rack, chin-up bar, monkey ladder, squat rack, jumping set and battle rope, so its zone must protect swinging, hanging, jumping and rope movement from the main walkway.
Map Package Sizes to Practical Layouts
Package size changes the layout strategy. Smaller floors should feel organised and complete, not cramped. Larger floors can separate zones more clearly and add visual impact pieces. WTF packages give useful bands for matching equipment ambition to available floor area.
| Package | Budget and Area | Layout Focus |
|---|---|---|
| Launch | ₹15 lakh, 1,200–1,500 sq ft | Compact cardio, tight selectorized circuit, limited heavy lifting |
| Startup | ₹20 lakh, 2,000–3,000 sq ft | Clear cardio line, strength circuit, basic rack and dumbbell bay |
| Pro | ₹25 lakh, 3,000–3,500 sq ft | Dedicated zones with stronger plate-loaded presence |
| Pro Plus | ₹30 lakh, 3,500–4,500 sq ft | Separate functional area and stronger traffic control |
| Flagship | ₹40 lakh, 6,000+ sq ft | Wide zoning, visual strength area and larger member circulation |
For a compact site, the Launch package should prioritise a clean spine aisle, a visible cardio start and a compact guided strength run. Do not split small floors into too many tiny islands. One leg zone, one push-pull run, one dumbbell wall and a calm stretching corner usually reads better.
The Startup package can create a clearer gym floor plan: cardio at the front, selectorized machines in a line or U-shape, plate-loaded strength on a wall side, and benches near mirrors. The Pro package adds a Smith machine, power rack and functional trainer, so plan a heavier lifting bay.
With Pro Plus, the cable cross-over, deadlift platform and suspension gear justify a separate functional area. With the Flagship package, the layout can use larger sightlines: premium strength pieces near the walk-through route, cardio visible from entry, and stretching away from the loudest lifting zone.
Plan Power, Flooring and Ceiling by Zone
Electrical planning should follow cardio and cable-based placement, not the other way around. Treadmills and powered cardio should not depend on loose extension runs across the floor. Put power points where machines will actually sit, and keep access available for cleaning and inspection.
Flooring should change by zone. Cardio needs stable support and clean cable routing. Selectorized machines need level placement. Plate-loaded and dumbbell areas need impact-ready surfaces. Functional zones need a surface that suits sled-style movement, ropes, floor drills or bodyweight training. For material selection and layering decisions, refer to the dedicated gym flooring guide.
Ceiling planning is critical for racks, Smith machines, chin-up stations, monkey ladders and punching bag areas. Check beams, fans, ducts, lights and false ceiling before marking a rack or rig position. If overhead work is central to your concept, decide those zones before finalising mirrors and wall graphics.
Use Duty Tiers to Place Equipment Smarter
WTF uses Core, Pro and Signature as shorthand for matching equipment to usage intensity; check the equipment duty ratings before final selection.
In layout terms, higher-use equipment belongs in the clearest daily traffic zones, while stronger visual pieces should not be hidden. Plate-loaded machines can work well on a visible strength wall or central feature line, provided aisles and loading areas stay clear.
Sightlines, Storage and Traffic Flow
Sightlines affect safety and sales feel. From reception or the main staff point, the floor should reveal cardio, guided strength and heavier zones without too many blind corners. Mirrors help lifting alignment, but they should not be the only planning tool. If a mirror wall forces benches into a crowded aisle, the layout needs adjustment.
Storage is part of gym layout, not an afterthought. Plate trees should sit near plate-loaded machines and racks. Dumbbell racks should let members pick and replace weights without blocking bench users. Cable attachments, collars, mats, bands and ropes need assigned homes; otherwise the functional zone slowly becomes a dumping area.
Traffic flow should separate slow movement from fast movement. Someone walking with a loaded plate, someone stepping off a treadmill and someone doing battle ropes should not share the same strip of floor. Paisa vasool planning is not about adding more machines; it is about making the right machines easier to use.
Get the Layout Checked Before Ordering
Before ordering equipment, prepare a rough drawing with walls, pillars, washrooms, entry, windows, ceiling obstructions and power points. Mark each gym zone, then place machines by movement path. If a machine needs loading from the side, access from the rear or overhead movement, show that on the drawing.
WTF runs 260+ gyms. We deliver and install, issue a full GST invoice and send an itemised quote within 24 hours. Buyers can also visit the showroom at D-27, Sector 112, Noida, UP 201305 to see the equipment range in person.