A home gym setup should start with the room, not the machines. Home gym setup cost depends on the room, flooring and the strength/cardio mix; use the MRP-band table below as your early price frame. For Indian homes, measure the floor, ceiling, access path, power points and ventilation before you shortlist cardio or strength equipment. WTF brings an operator’s buying lens from a team that runs 260+ gyms, but keeps the advice focused on your home space.
Start With the Room, Ceiling and Floor
The first mistake in a home gym is buying around excitement instead of available movement space. Measure the clear wall-to-wall area, ceiling height, doorway width, lift entry, staircase turns and the route from building gate to final room. For a complete setup, also mark windows, fans, AC position, sockets, columns and storage niches. If the room is in an apartment, ask your building or structural advisor about floor load before placing heavy strength stations or large dumbbell sets.
Ceiling height matters for overhead pressing, pull-ups, treadmill use and any rack with a chin-up bar. If the ceiling is low, prioritise adjustable dumbbells, bench work, floor training and compact cardio. If the ceiling is comfortable, a rack, functional trainer or rig becomes easier to plan. Seedhi baat: if you cannot walk around the equipment safely, the equipment is too large for that room.
| Room size type | Main training use | Equipment direction | Layout caution |
|---|---|---|---|
| Compact corner | Mobility, dumbbells | Adjustable dumbbells, mat, small storage | Avoid bulky cardio |
| Spare bedroom | Strength plus cardio | Bench, dumbbells, spin bike or treadmill | Keep door swing clear |
| Large room | Full home gym setup | Rack, bench, dumbbells, cardio | Separate lifting and cardio |
| Garage or basement | Heavy lifting | Rack, plates, functional station | Check dampness and ventilation |
| Terrace enclosure | Conditioning | Non-motorized cardio, functional tools | Control dust and heat |
Decide Your Training Zones Before Equipment
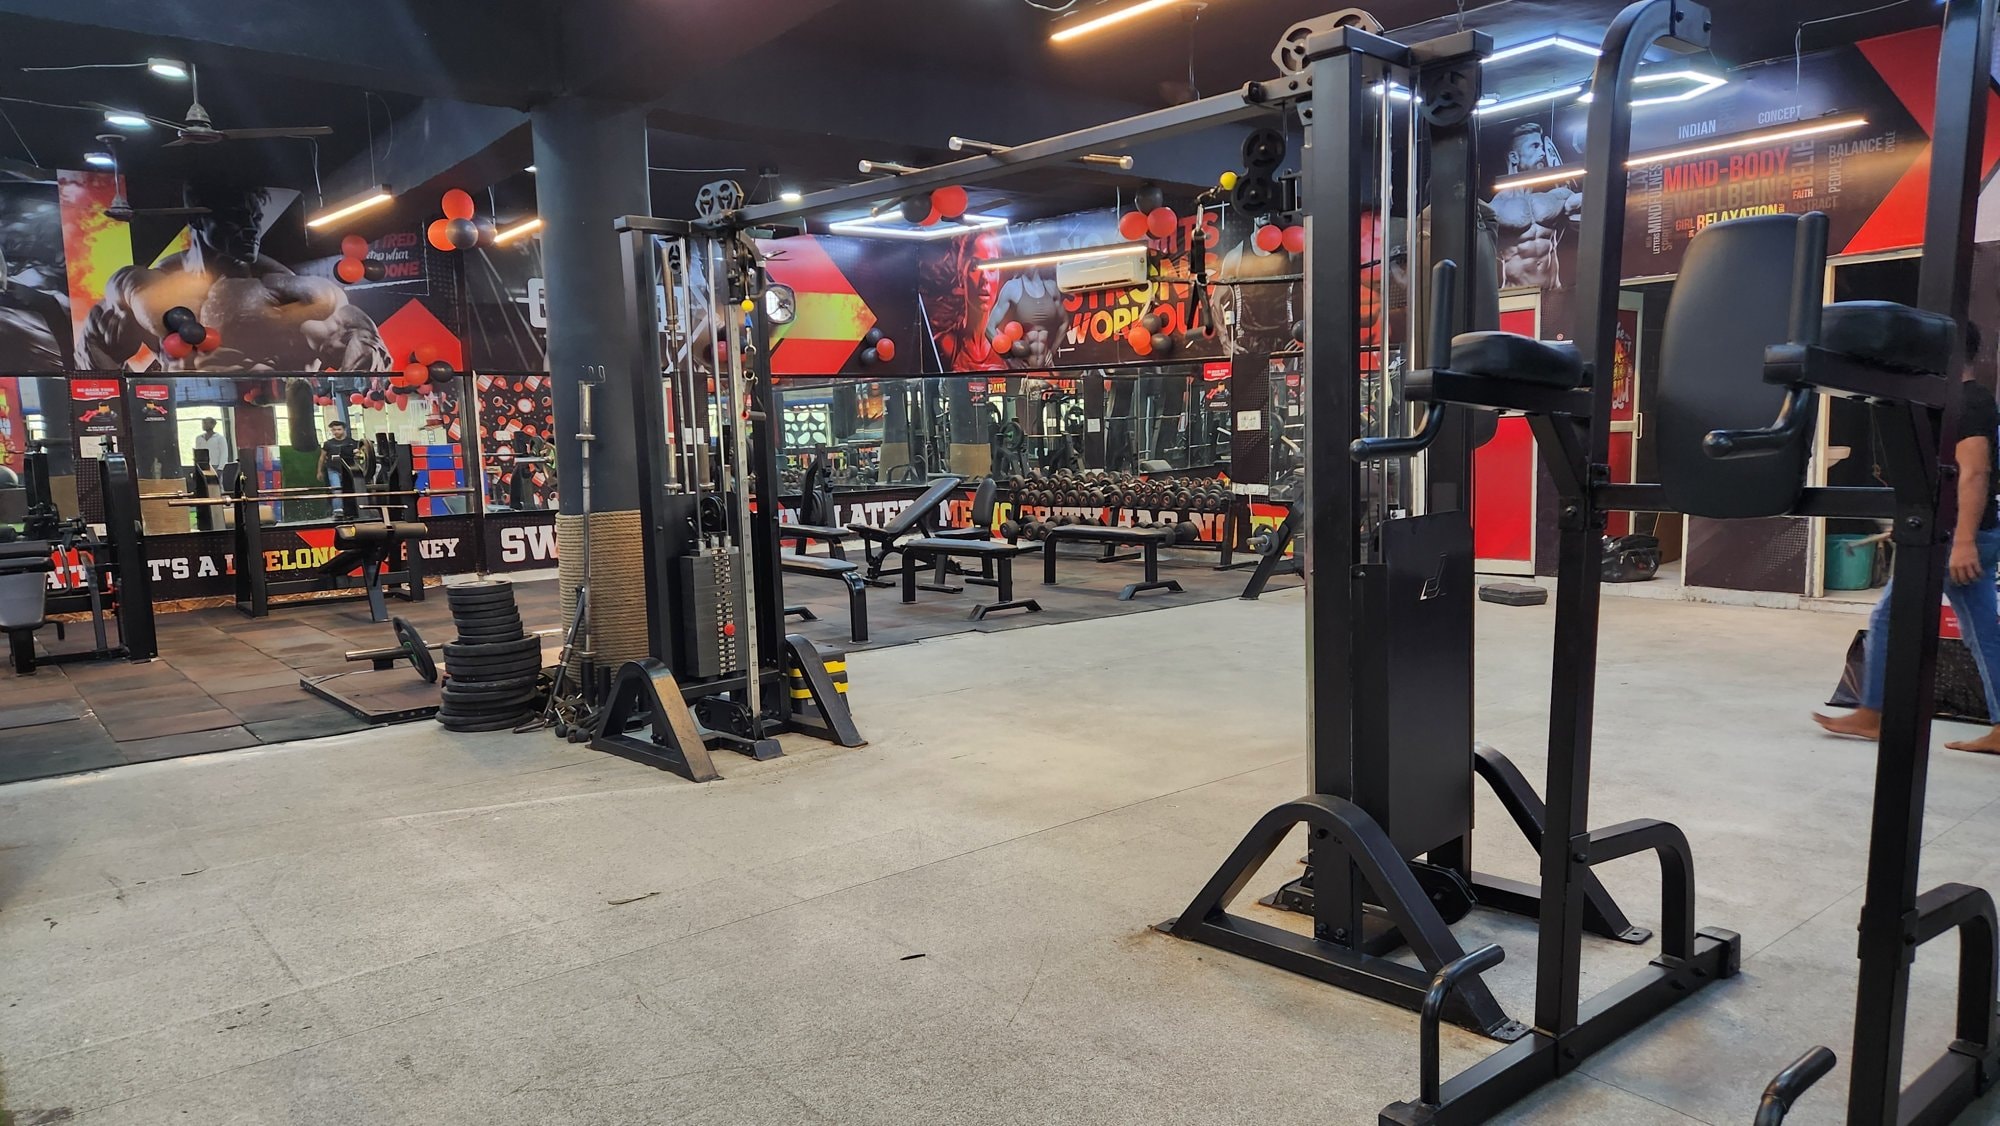
A good gym setup at home usually has three zones: lifting, cardio and storage. The lifting zone needs clear space around the bench or rack. The cardio zone needs power if you choose a motorized treadmill, and enough rear clearance for safe stepping off. Storage prevents dumbbells, collars, mats and accessories from spreading into walking areas.
If you are planning a clean starter layout, use a home gym planning page to frame the room by use case, then refine your list with a home gym equipment checklist. Do not copy a commercial floor layout into a flat or villa room. Homes have narrower doors, lower ceilings, shared walls and stricter noise expectations.
- Lifting zone: bench, dumbbells, rack or Smith-style station, with space to load and unload safely.
- Cardio zone: treadmill, spin bike or non-motorized treadmill, placed near ventilation and suitable power where required.
- Storage zone: dumbbell rack, plate storage, hooks or shelves so the workout floor stays clear.
- Recovery and mobility area: mat work, stretching and warm-up space away from moving belts or loaded bars.
Home Gym Setup Cost: Use MRP Bands Carefully
Cost depends on room readiness, flooring, strength equipment, cardio choice and delivery access. The rupee figures below are MRP / list-price bands from our price guide, not a promise of your final basket. A compact dumbbell-and-bench room will sit very differently from a rack, flooring and cardio build. For a precise buying list, WTF provides an itemised quote within 24 hours.
| Equipment area | MRP / list-price band | Use in home gym |
|---|---|---|
| Squat Rack | ₹17,500–₹1,24,000 MRP | Barbell-focused strength |
| Smith Machine | ₹1,77,000–₹2,89,000 MRP | Guided pressing and squats |
| Adjustable Bench | ₹16,000–₹65,000 MRP | Pressing, rows, accessories |
| Rubber Roll Gym Flooring | ₹260–₹398 per sq ft MRP | Floor protection and grip |
| Commercial Spin Bike | ₹38,500–₹74,000 MRP | Compact cardio |
| Functional Trainer | ₹2,30,000–₹2,95,000 MRP | Cable-based full-body training |
Avoid planning only by machine price. Flooring, safe clearances, power points, storage and installation access can change what makes sense. Paisa vasool buying means choosing equipment you will use consistently, not filling the room with every possible station.
Choose Equipment in Phases
Phase One: Build the Base
Start with equipment that supports the widest training menu. For many serious home buyers, that means dumbbells, an adjustable bench, flooring and storage. In WTF's range, Adjustable Dumbbells model ADJUSTABLE-DUMBBELLS use commercial-grade materials, and Hexagon Dumbbells model DB01 come in sizes from 2.5 to 40 kg. If multiple people use the room, fixed dumbbells with a rack can reduce adjustment delays, while adjustable dumbbells save space.
Phase Two: Add a Main Strength Station
Once you know your training pattern, add the main station. A Smith + Power Rack model AS029 has a heavy-duty frame and suits users who want guided bar movement plus rack-style training in one station. For cable work, the Functional Trainer model BK005A uses a heavy-duty commercial steel frame and can cover pulls, presses, rows, rotations and accessory work. Choose only if the room allows comfortable setup and movement around the handles.
Phase Three: Add Cardio Without Blocking the Room
Cardio choice should follow floor space, ventilation and power availability. The Commercial Spin Bike model 5917 has a 25 kg flywheel, Poly-V belt drive and maximum user weight of 180 kg. It is often easier to place than a treadmill because it has a smaller footprint. If you want running without a motor, the Curve Non-Motorized Treadmill model CURVE has six resistance levels, a nylon belt and maximum user weight of 150 kg.
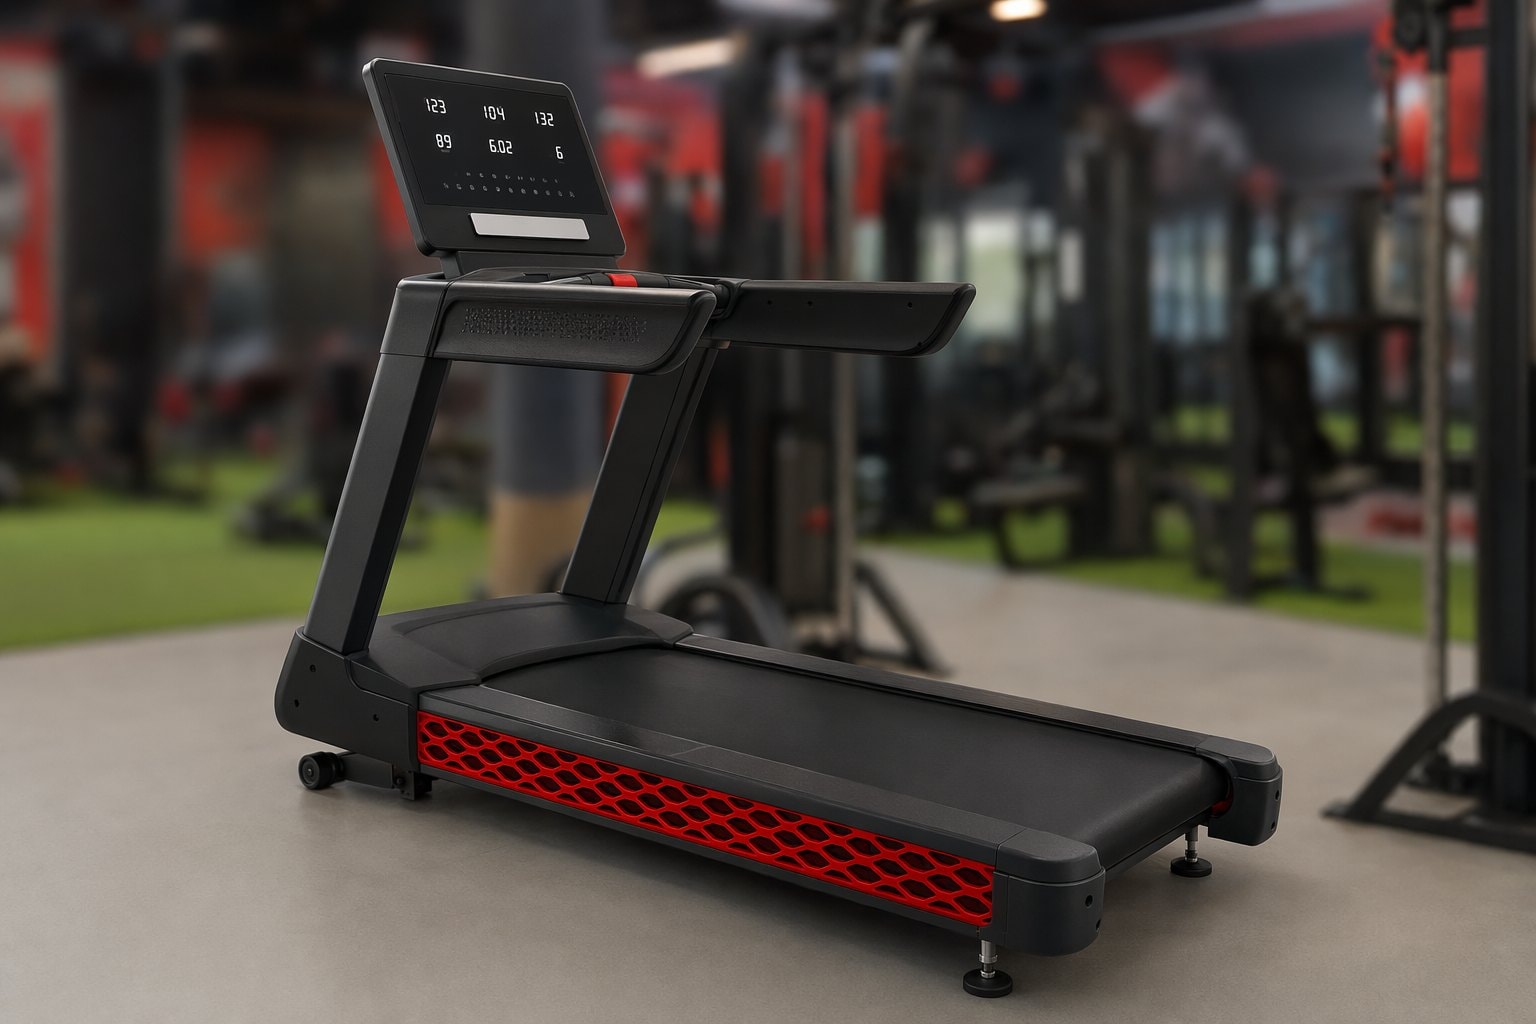
For motorized running, compare the running area and access path before buying. The Motorized Treadmill model 22 lists an 8 HP peak AC motor with 4 HP continuous output, a 58 × 150 cm running area and maximum user weight of 200 kg. The Commercial Motorized Treadmill model BEAST lists a 60 × 153 cm running area, 0–20% auto incline and dimensions of 2,300 × 940 × 1,730 mm. Always keep headroom between the user’s body weight and the rated maximum; do not choose a machine rated exactly at the user’s weight.
Flooring, Noise and Safety Checks
Flooring is not decoration in a home gym. It affects grip, stability, sound transfer and floor protection. Read a gym flooring guide before placing dumbbells, benches or cardio. For apartments, avoid placing heavy impact activity directly above bedrooms or shared quiet spaces when a better room is available. Keep the lifting area dry, level and uncluttered.
- Use stable flooring under benches, racks and dumbbell storage.
- Keep treadmill and bike zones away from loose mats that can creep into moving parts.
- Store dumbbells on a rack instead of leaving them near doorways.
- Do not block windows, switchboards or AC access with tall equipment.
- Keep children and pets out of the workout zone when equipment is in use.
Understand Duty Tiers for Home Buying
For home use, treat WTF's duty tiers as a way to match equipment to training load without oversizing the room.
Delivery, Installation Access and Final Checks
WTF delivers and installs. Before you confirm, check your access route: staircase bends, lift depth, door width and corridor turns. Before confirming, also check parking access and whether the machine can be moved to the room without damaging walls or flooring. Large cardio units and rack systems should be checked against published dimensions wherever available.
- Measure the entry route from building gate to room.
- Confirm the final machine position before installation.
- Check power point location for motorized cardio.
- Keep the room clear on installation day.
- Retain the full GST invoice for your purchase records.
If you want to see the equipment range in person, WTF has a showroom at D-27, Sector 112, Noida, UP 201305. Carry your room measurements with you so the visit helps you think about footprint, movement space and whether the plan suits your room.